Preparing Your Concrete Surface for Polishing: Essential Steps to Follow
How to achieve the best flooring finish
Achieving a polished and elegant look for your concrete surface requires thorough preparation. Whether it's a commercial space or a residential area, following essential steps will ensure a successful concrete polishing project. In this blog, we will discuss the crucial steps to prepare your concrete surface for polishing, resulting in a beautiful and long-lasting finish and why Lime Flooring does it better than anyone else.
Step 1: Clean the Surface:
Begin by cleaning the entire concrete surface using a bristle brush and a mixture of warm water and household cleaner. Scrub the surface thoroughly to remove dirt and stains. Rinse the area with clean water to remove any cleaning residue.
Step 2: Inspect and Repair:
Inspect the concrete surface for cracks, pits, or imperfections. Repair these issues using suitable concrete patching materials to ensure a smooth and even surface. Addressing these problems before polishing is crucial for achieving a flawless finish.
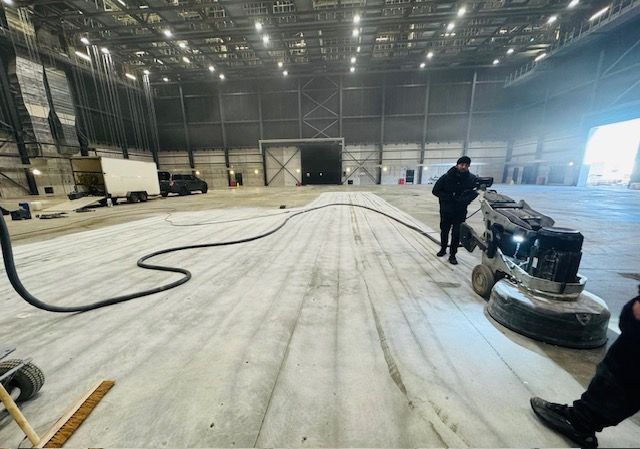
Step 3: Surface Grinding:
Utilise a concrete grinder with diamond-impregnated segments or disks to grind the surface. Start with a coarse grit and gradually move to finer grits. This process smoothens the concrete and removes any existing coatings or adhesives. Multiple passes may be required to attain the desired smoothness.
Step 4: Densify and Harden the Concrete:
Apply a concrete densifier to the surface after grinding. This treatment penetrates the concrete, reacting with it to create a harder and more durable surface. Densifiers reduce dusting and enhance the overall strength of the concrete.
Step 5: Final Grinding Pass:
Perform a final grinding pass using the finest grit to achieve a smooth and uniform surface. This step enhances the concrete's shine and prepares it for the polishing process.
Step 6: Clean and Vacuum:
Thoroughly clean the surface to remove any dust or debris generated during grinding. Use a vacuum cleaner or suitable cleaning equipment to ensure a clean and dust-free surface.
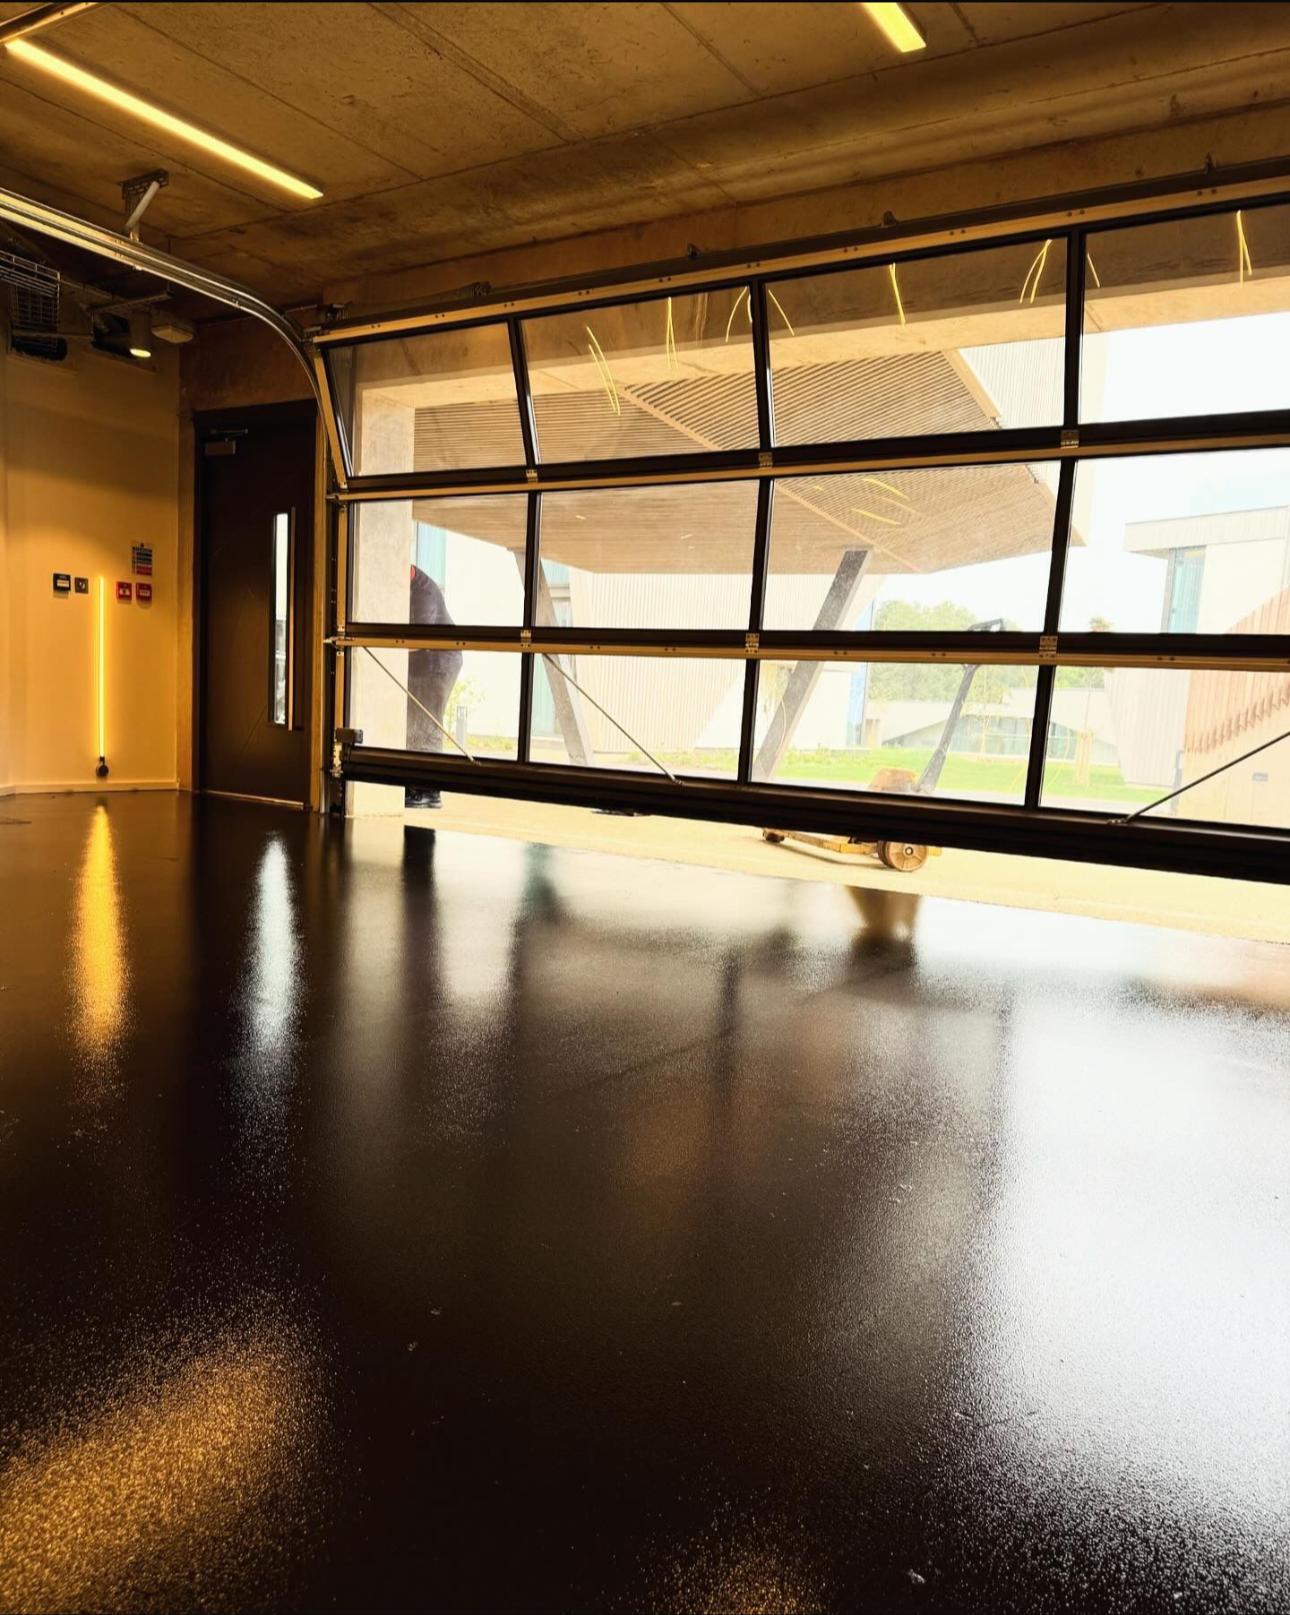
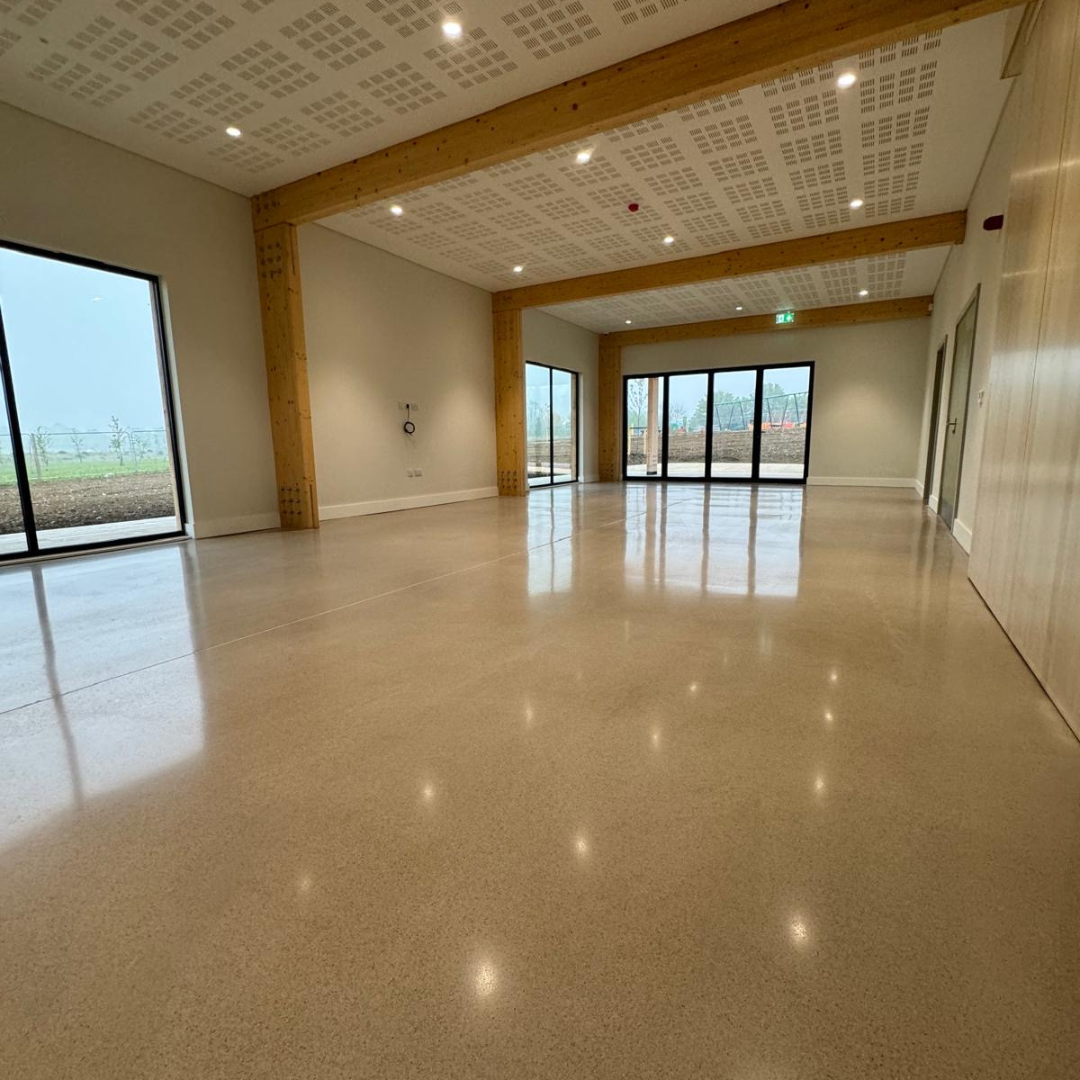
Step 7: Polishing:
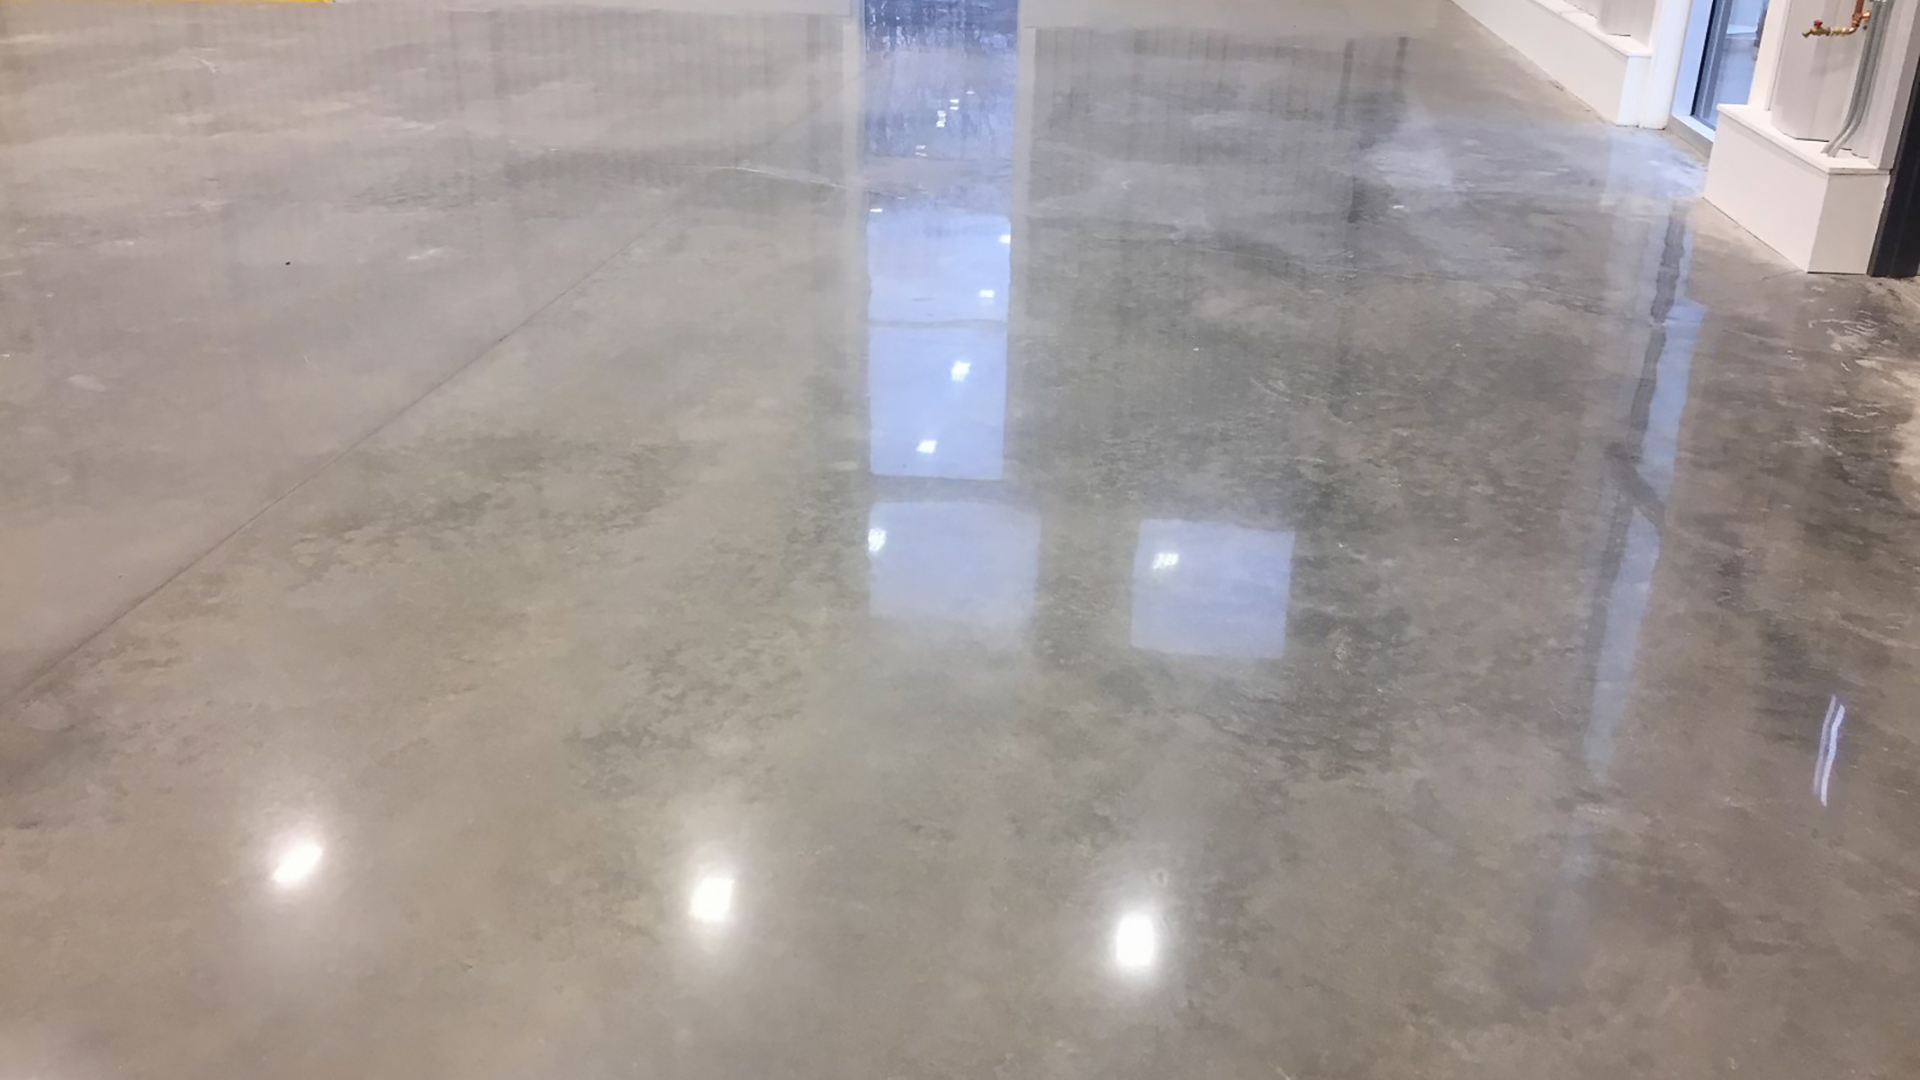
Utilise a concrete polisher equipped with diamond-impregnated polishing pads. Begin with coarser pads and gradually progress to finer grits for a high-gloss finish. The polishing process enhances the natural beauty of concrete and creates a reflective surface.
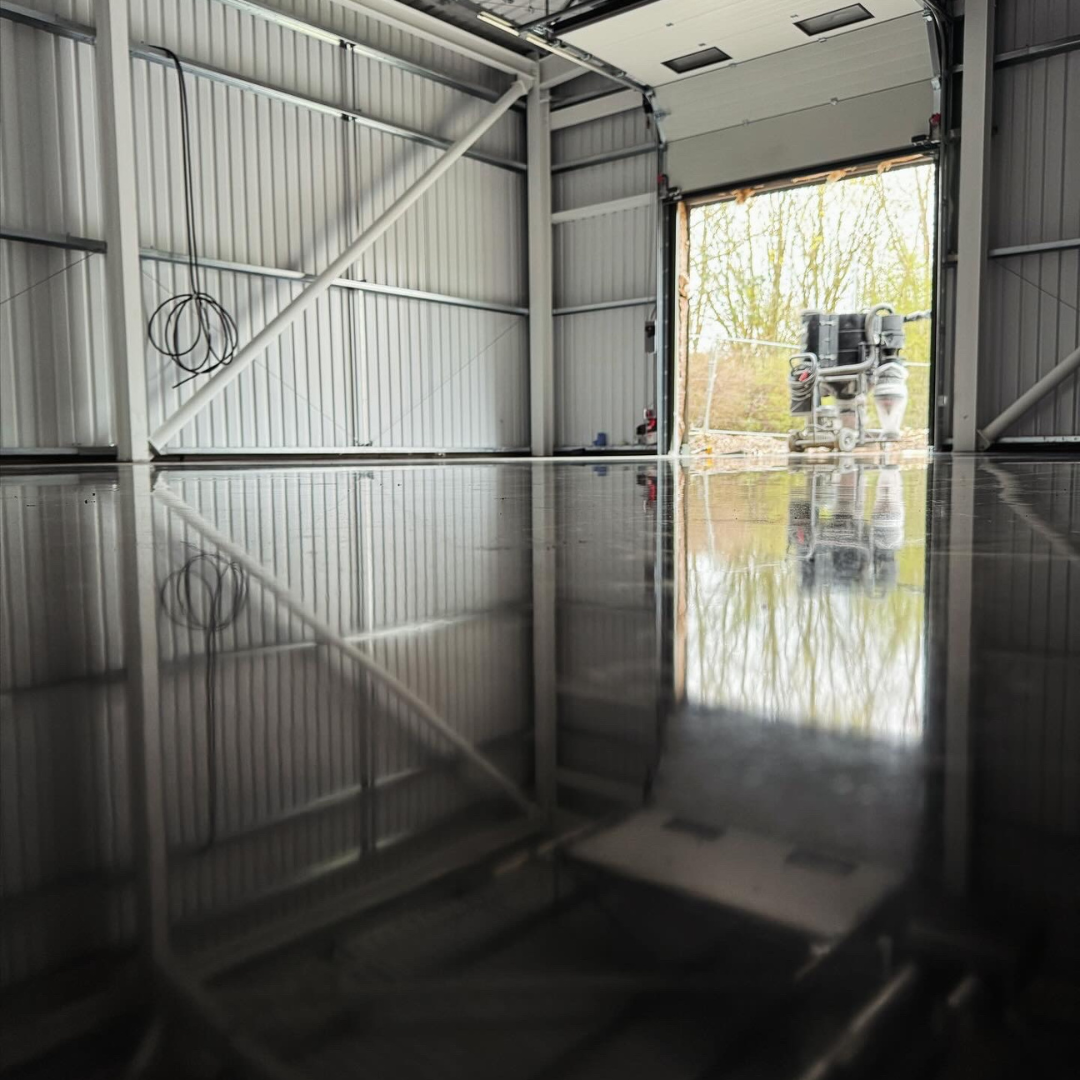
Step 8: Sealing and Protecting:
Once the desired level of polish is achieved, apply a concrete sealer to protect the surface from stains, moisture, and wear. Choose a sealer suitable for your specific requirements, such as acrylic, epoxy, or urethane sealers. Follow the manufacturer's instructions for application and curing time.
Step 9: Allow Sufficient Curing Time:
After sealing, allow the polished concrete surface to cure for the recommended time. This period typically ranges from 24 to 72 hours, depending on the type of sealer used. Avoid foot traffic or placing heavy objects during this curing period.
By following these essential steps, including cleaning, repairing, grinding, densifying, polishing, and sealing, you can prepare your concrete surface effectively for polishing. This thorough preparation ensures a stunning and durable polished concrete finish, enhancing the aesthetic appeal of your space and providing long-lasting beauty.
Always use a professional flooring company for your polished concrete installation to ensure an expert finish every time. Drop us a message at our
contact page to get the ball rolling for your next polished concrete project.
Get in Touch